Friday, July 24, 2020

What the Best Garbage Disposal Problems? Pros Do (and You Should Too)

Disposal performs a giant function in your kitchen. It is answerable for breaking down meal debris, preserving your sink easy, and stopping foul smelling meals buildup. Damaged disposal shouldn’t be ignored. Call the Royal Appliance group for evaluation and rubbish disposal restore, while you be aware of any of the subsequent issues:


Unusual Sounds
Disposals are alleged to make a “whirring” noise whilst running, breaking apart meals debris and different waste. A grinding sound is out of the ordinary, alerting you to trouble together along with your equipment. Do now no longer forget about this issue. The grinding sound manner there may be an extreme malfunction with the equipment. Don’t try and remedy the trouble yourself. A professional technician is wanted to decide the difficulty and restore your equipment effectively and safely. KitchenAid food waste disposer parts

Foul Smells
An easy, well functioning, disposal does now no longer emit any foul odors. Foul smells, out of your equipment, suggests trouble. When meals aren’t damaged down well, it'll rot to your disposal, main to minor to extraordinarily unsightly odors. Our equipment restores technicians are professionals in disposal restore. They will repair your disposal and take away the inconvenience and hassles of damaged disposal. waste disposal parts

Frequent Resets
The reset button to your disposal is used for infrequent issues, which means a restore isn't always needed. If you want to apply your reset button frequently, this can be a demonstration there may be defective wiring or want to update your vintage disposal. Our professionals decide the supply of the difficulty and provide you with a warning to whether or not a restore or new disposal is wanted.

If your disposal isn't always running well or has any of those indexed issues, it can result in extra and extra highly-priced problems. garbage disposal parts names

Thursday, July 16, 2020

Why Nobody Cares About Cleaning Stainless Steel


Stainless steel home equipment is a popular desire for many homes. This is because stainless-steel’s smooth end blends properly with most décor and gives the kitchen and bathroom a sleek, current look. Also, chrome steel is widely recognized for its resilience in opposition to warmth and rust, way to its protective layer. However, it’s never stainless from water spots, streaks, and fingerprints. Therefore, it’s important to clean and hold chrome steel appliances to hold them looking for their exceptional and closing longer.
Cleaning stainless-steel appliances is a clean DIY task. Here are approaches on how to keep them gleaming. stainless steel oven cleaning products

Basics of Cleaning Stainless Steel

• Follow the grain when cleaning. Stainless metallic includes a grain that runs both horizontally or vertically. It is suggested to observe the grain when cleansing and sprucing the appliance for additional shine.
• Avoid abrasive scrubbing pads, steel wool, and other difficult scrubbing materials. These abrasive materials can harm the protective layer of the equipment, making the steel underneath to be at risk of damage. A microfiber cloth works exceptionally when cleansing chrome steel home equipment because it absorbs a good deal of water as possible and does not scratch the surface.
• Do now not use merchandise that incorporates chlorine and chemicals which can be corrosive to stainless steel. Such products corrode the metal making it liable to rust.
• Avoid extremely hard water when cleansing. Hard water can depart mineral deposits and streak.

How to Clean Stainless Steel Appliances
There are numerous products and methods to easy and polish stainless appliances. Here are ways you may smooth the appliances:

1. Using vinegar and olive oil
This simple combination of vinegar and olive oil can smooth and remove limescale and dust to perfection.
• Put white vinegar in a twig bottle
• Spray onto the surface. You also can follow the vinegar onto a microfiber material
• Wipe in the route of the grain
• Once clean, add a few drops of olive or mineral oil to a smooth microfiber cloth and varnish in the direction of the grain. If extra oil remains, wipe away with a smooth material. stainless steel care and cleaning

2. Using mild dish soap and water
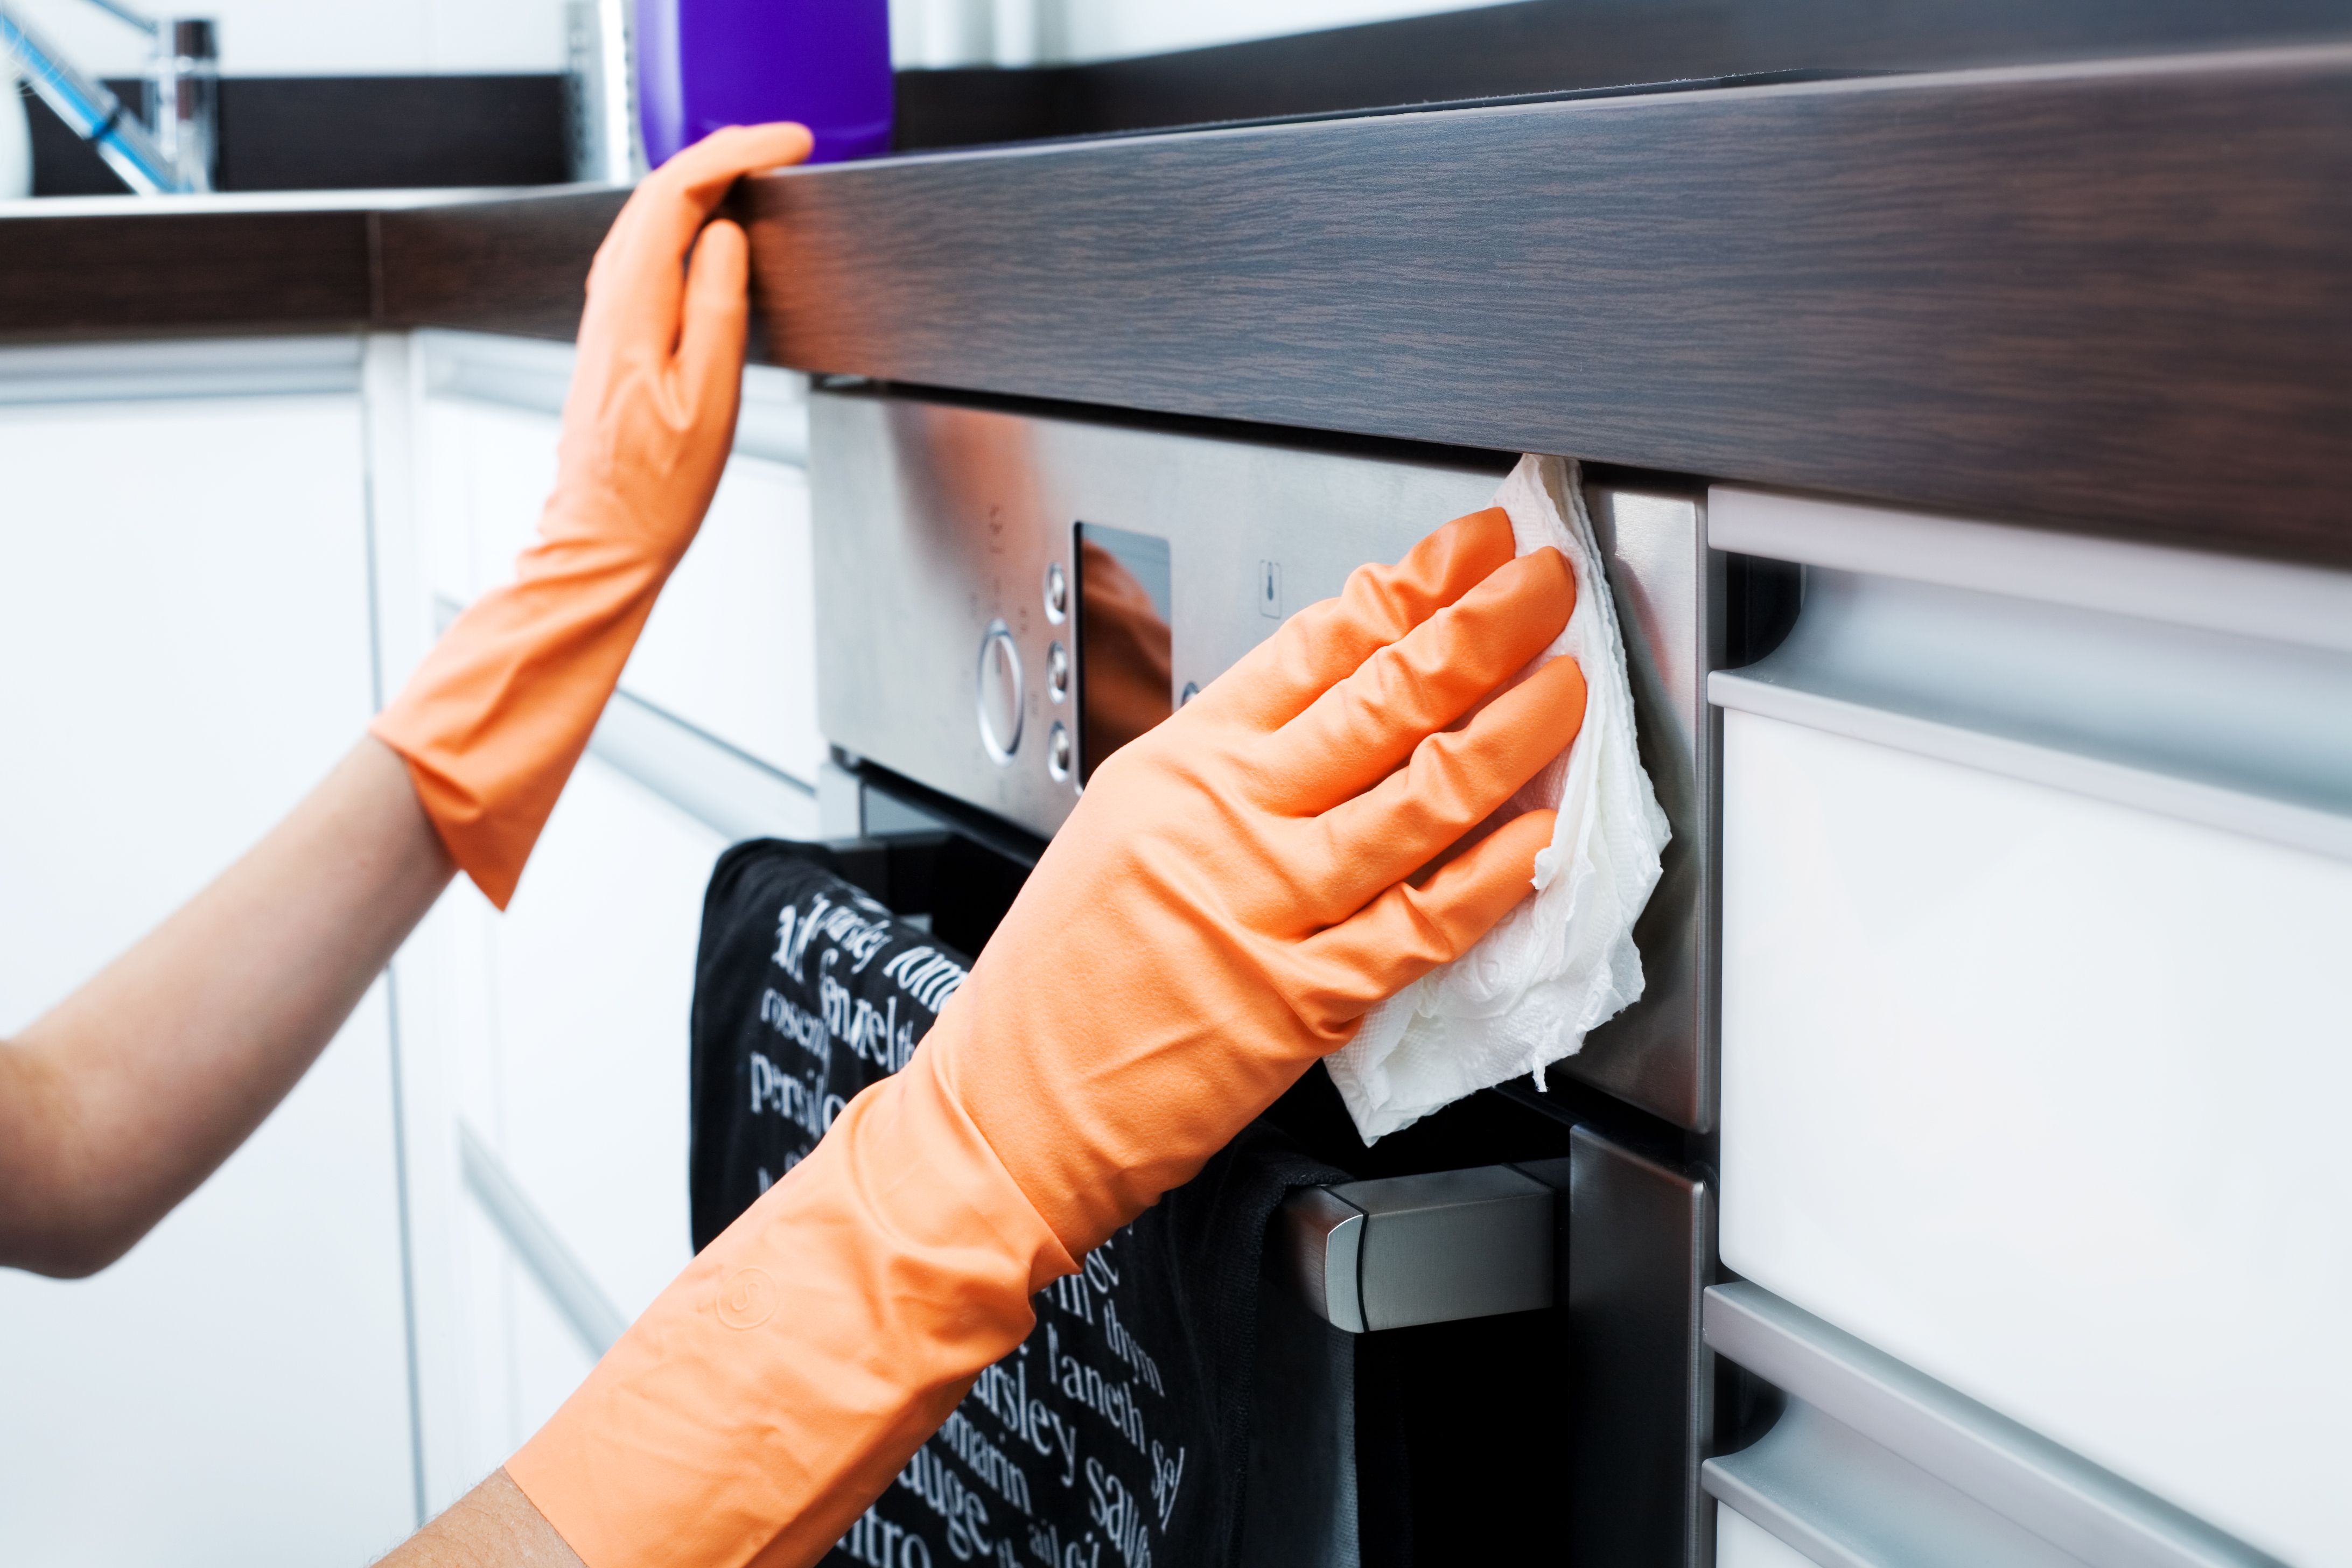
• Using heat water and mild dishwashing liquid, wipe within the path of the grain.
• Rinse the usage of a clean cloth soaked in warm water to eliminate all soap residues.
• Dry the use of soft material to prevent water spots
• Polish with a small quantity of infant oil or olive oil
3. Using baking soda
Baking soda acts as a very mild abrasive that can take away tough stains and sticky spots on your stainless steel equipment. It may be used together with vinegar.
• Make a paste via adding water
• Apply to dirty spots and lightly scrub with a microfiber material in the route of the grain.
• Wipe the residue and rinse. 

4. Commercial chrome steel cleaner
You can also use a particularly designed cleaning product to clean and polish your chrome steel appliances.
• Spray the product on the appliance and permit it to soak for approximately 2 minutes
• Wipe with clean non-abrasive material. cleaning kitchen equipment
• Be certain to follow the instructions written on the product because the cleaners may also vary

Maintaining Stainless Steel Appliances
Regular take care of stainless steel makes cleaning simpler and forestalls stains and further damage. Below are some maintenance pointers for stainless-steel home equipment.
• Keep the area around the equipment as dry as viable.
• Wipe spillages as soon as they occur to prevent permanent marks.
• Cleaning should no longer be carried out as soon as in a blue moon. Accumulated stains make cleaning harder and lead to more damage.
• For small scratches, you could apply a thin layer of toothpaste and buff gently. Deep scratches, however, are nice left to the specialists like Nationwide Appliance Repairs.
Stainless metallic home equipment is fantastic and in no way get out-dated. And with the methods and tips above, you may hold them smooth and shinning, and make bigger their life.

Wednesday, July 1, 2020

How to Get More Results Out of Your How To Clean Glass On Oven Door


We understand it could be unnerving to take an appliance apart when it desires to be cleaned. That’s why we've got step-by-step commands for a way to clean among glass on an oven door so you can confidently easy with ease:

1: Remove the Oven Door

How to dispose of your oven door will vary in step with the make and version of your appliance. *Consult your owner’s guide for details.

Generally, step one is to open the oven door until it’s at a 75-degree perspective. Next, pull the door upwards till it clears the door’s hinges (a pair of labor gloves will protect your hands at the same time as a companion can help if the door is heavy). Lay the door on a towel-covered surface to guard the glass at the same time as you work.

2: Prep Your Cleaning Supplies

There are no fancy cleaning answers or substances for how to smooth in among glass oven doors. Mix a cleaning answer of warm soapy water in a bucket. An easy cleansing tool can be made with a yardstick and dish or hand towel. Wrap the towel around one quit of the yardstick and stable it in a location with rubber bands. stainless steel oven cleaning products

3: Gently Clean

Dip your yardstick inside the soapy water and gently insert it towel-quit first into the hole at the bottom of the door. Scrub gently, letting the soapy solution soak into tough stains for 2-3 minutes before scrubbing. Repeat as had to thoroughly clean between the glass on the oven door.

4: Rinse

Rinse your soapy towel or replace it with a brand new one. Dip it in clean, heat water and re-insert to remove all soapy residue from in among the glass. Soap residue can still depart streaks so make sure you rinse to easy between the oven door. stainless steel care and cleaning

5: Ensure That the Oven Door is Dry

Replace the towel to your yardstick with a dry, lint-free cloth. Dry the glass as a great deal as possible, leaving it to air-dry for the following hour so no dampness remains.

6: Replace the Door

Re-connect the door using holding it in the front of the oven at the same 75-degree perspective and lowering it into your oven’s hinges. The hinges and door have to lock into location and you could close the door.

Now that you know the way to easy between glass on an oven door, we have some bonus hints to make sure the front face of your oven door is simply as smooth and shiny:

Tips for Cleaning the Face of your Oven

  • Clean up splatters when they occur with warm, soapy water and wipe dry
  • For cussed stains, spray an answer of one element vinegar to two parts water and wipe away immediately. Rinse with a damp fabric and wipe dry.
  • Always do not forget to wipe with the grain of your chrome steel and paintings from pinnacle to bottom cleaning kitchen equipment .
For the outer glass, a commercial glass cleaner like Windex will do the trick. You can make your herbal glass purifier by using blending 1 cup rubbing alcohol, 1cup water, and 1 Tbsp of white vinegar in a sprig bottle.